Windows: VMS Installation Guide
Introduction
This guide provides step-by-step instructions for installing IncoreSoft VMS on a Windows-based environment. It is intended for system administrators and technical personnel responsible for deploying the VMS software.
To initiate the VMS installation:
- Navigate to the Installation Files section in the Partners Portal
- Select the VMS block
- Download the corresponding installation files archive from the Windows subsection
- After the download is complete, navigate to the folder where the archive was saved
- Extract the contents of the archive and open the folder containing the installation files
VMS Installation
To start the installation:
- Locate the incoresoft-vms-install-x64.exe file in the extracted directory
- Right-click the file and select Run as administrator
- In the setup window, select the preferred interface language and click OK to continue
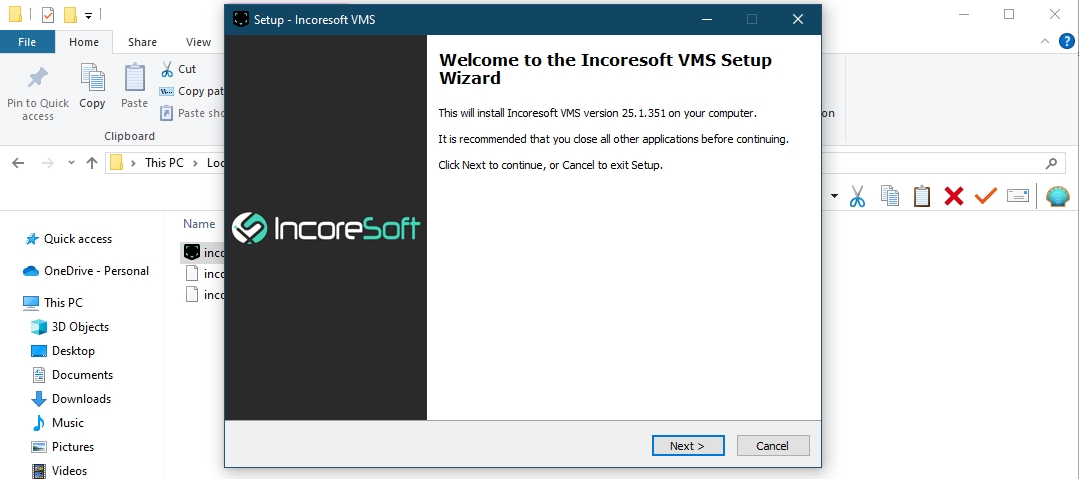
Review the installation version and click Next to proceed:
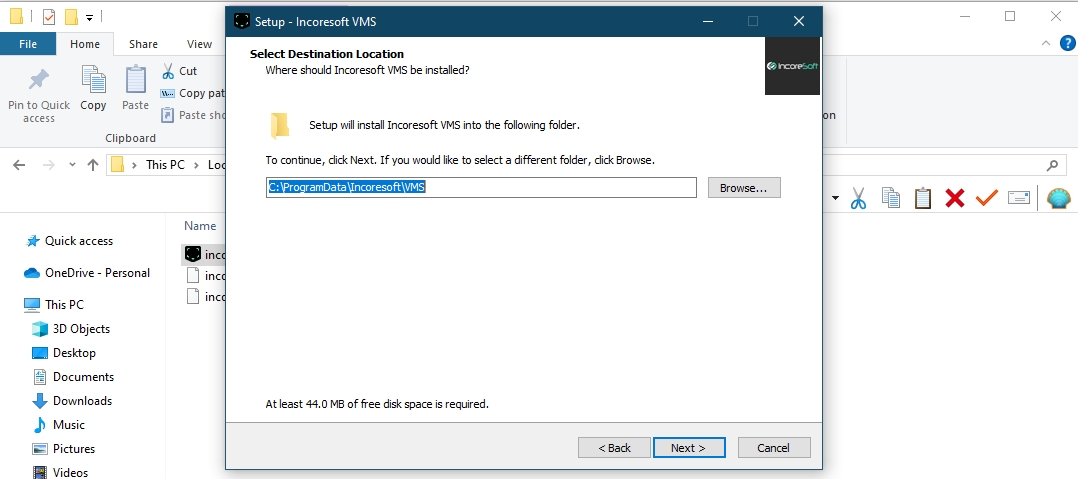
Click Browse to choose the destination folder for the installation, or use the default path, and then proceed by clicking the Next button:
Select the desired installation type from the drop-down menu to choose the desired components to install and proceed by clicking the Next button:
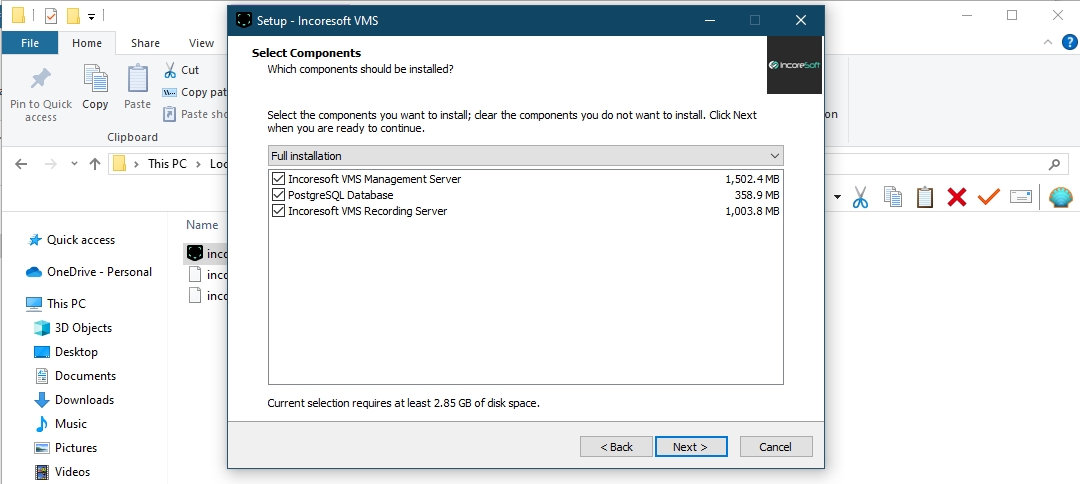
- Full Installation, to install all components on a single server
- Only Management Server, to install VMS Management Server and PostgreSQL Database
- Only Recording Server, to install VMS Recording Server
- Custom Installation, to select the required components by checking or unchecking the boxes manually
If the VMS Recording Server component was selected on the previous step, specify the IP address or hostname of the server where the VMS Management Server is installed and click Next to proceed: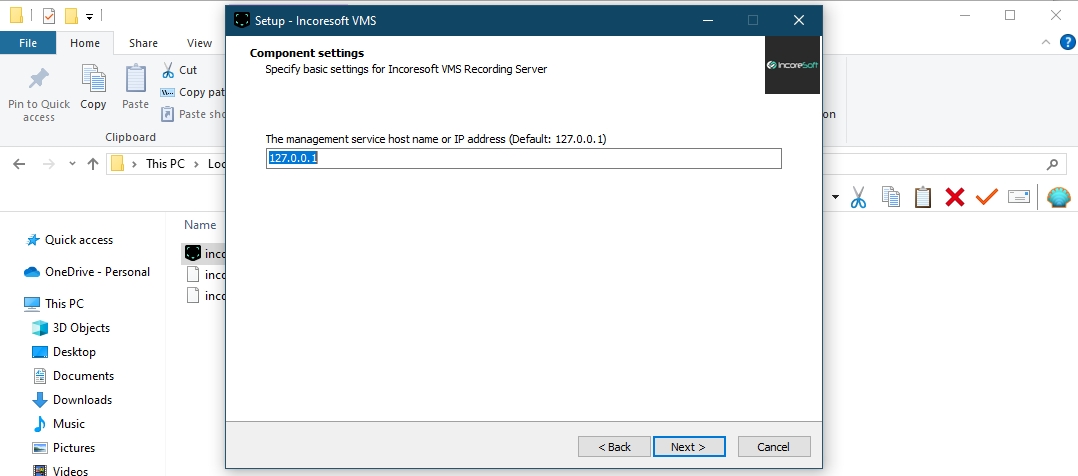
- Enter 127.0.0.1 if the VMS Management Server is installed on the same machine
- Enter the hostname or IP address of the remote server if it is installed separately
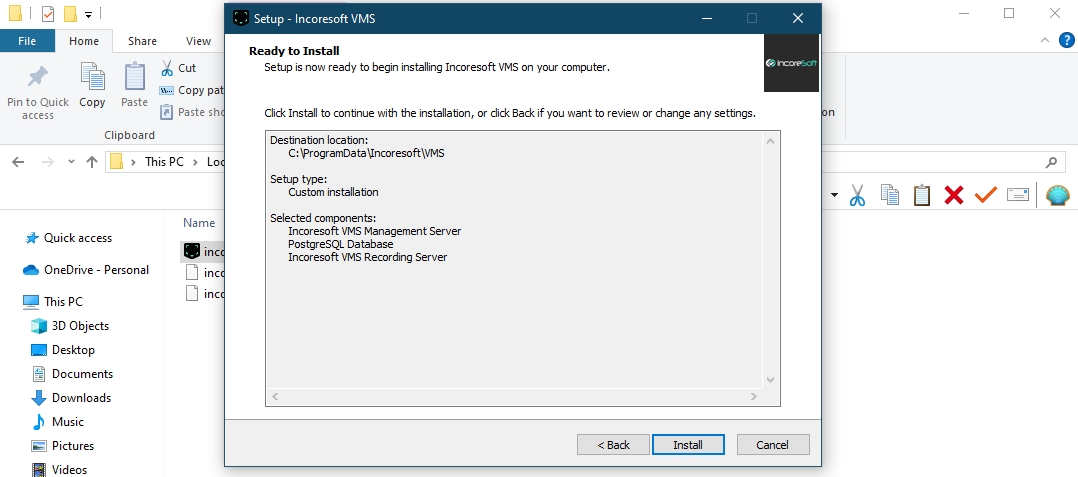
Verify the list of installation components and click Next to start the installation:
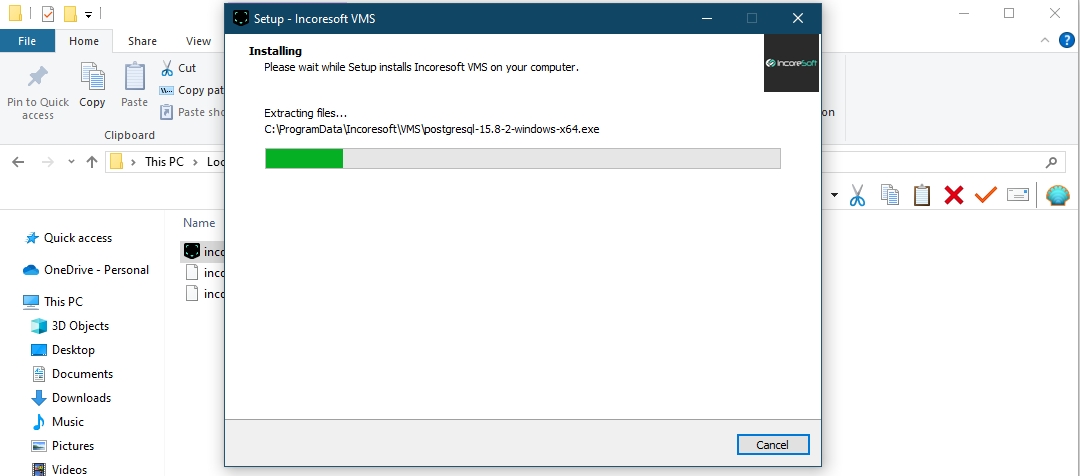
Wait for the installation process to complete. The installer will deploy all selected components automatically:
Once the installation is finished, click the Finish button to close the setup window:
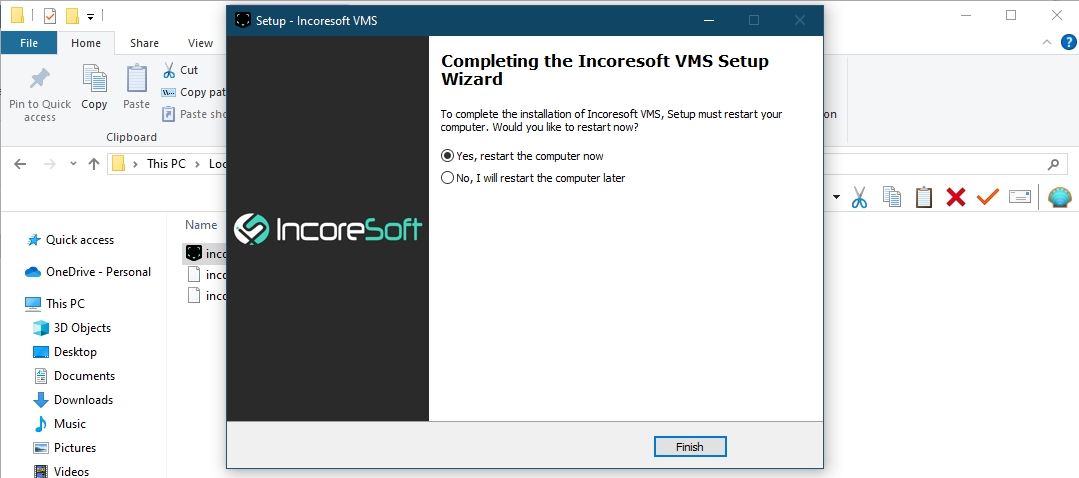
Restart the computer to finalize the installation. The VMS installation is now complete.
Web Interface Access
After the installation is complete and the system has been restarted, the VMS interface becomes available via a web browser.
To open the interface:
- If accessing from the same server where the Management Server is installed, navigate to http://localhost:2002/
- If accessing from another server, use the server's IP address http://<server_ip>:2002/
To enable secure access:
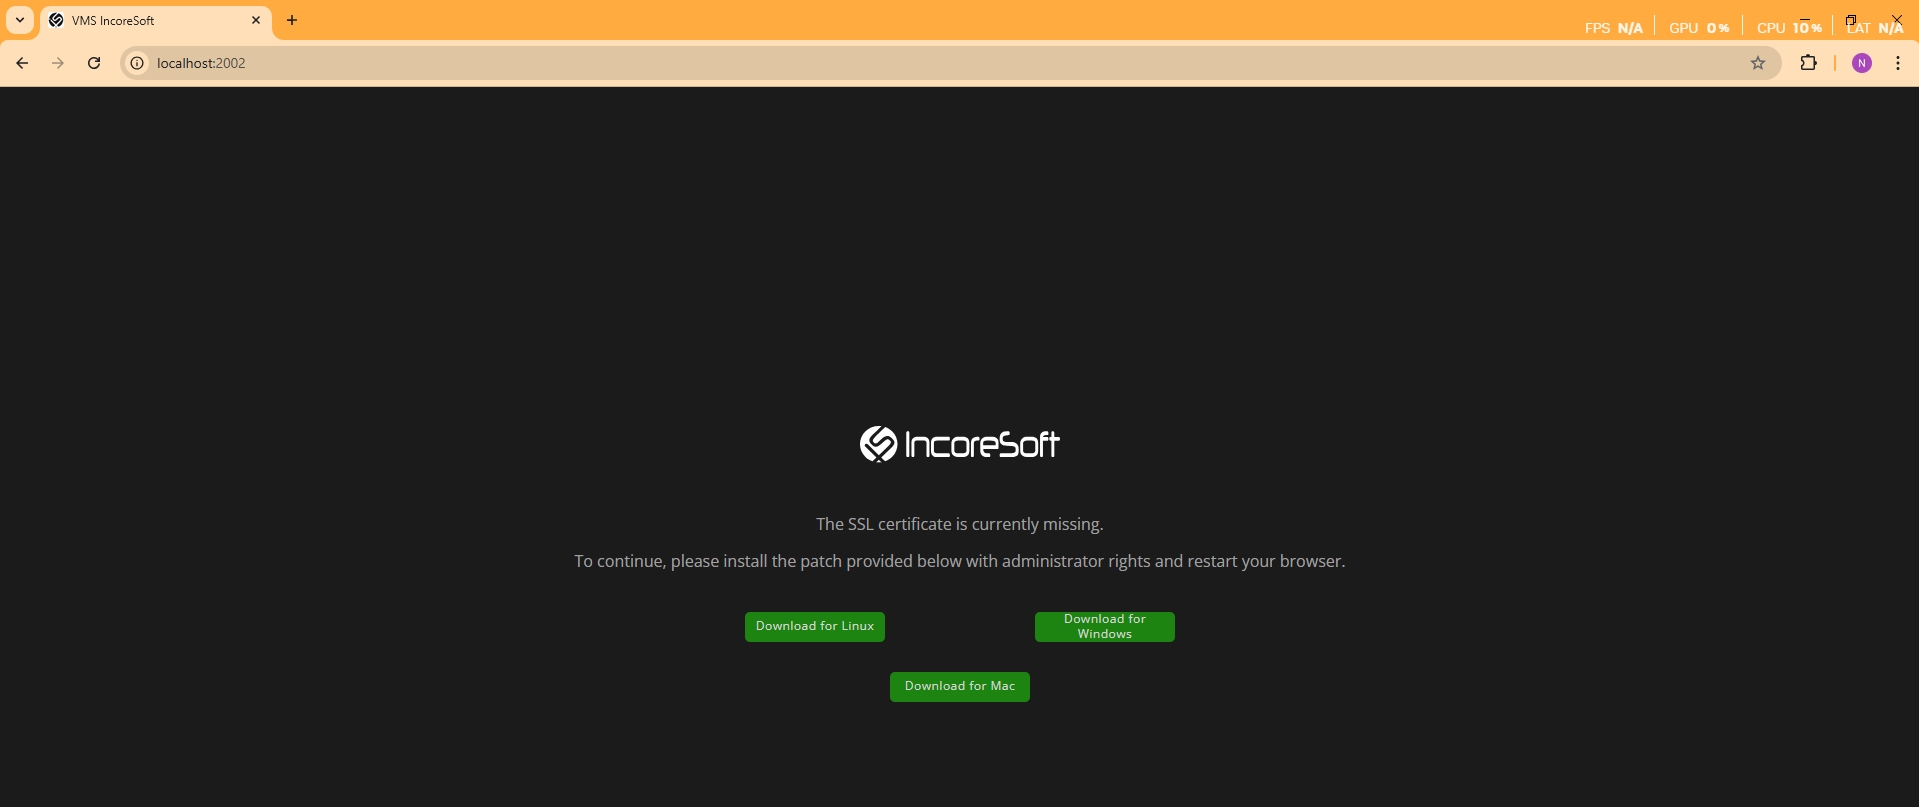
- Download the SSL certificate that matches your operating system
- Install the certificate on your system with administrator privileges
- Restart the browser
- Reopen the interface at http://localhost:2002/ or the remote address
After the browser restarts, open the web interface again and log in using the default credentials:

- Login: admin
- Password: admin
Database Configuration Process
The Database Configuration dialog allows setting the following parameters:

- In the DB Type drop-down list, select the PostgreSQL DB
- In the Host field, specify the IP address of the server where the PostgreSQL DB is preinstalled and configured
- In the DB Name field, specify the name of the database intended for VMS
- In the Schema Name field, provide the name of the schema created within the database
- In the Login and Password fields, enter the user credentials of the database owner for accessing the database for VMS
The PostgreSQL DB default port is 5432. If it has been changed to any other, enter "host:port" in the Host field, where:
- host is the PostgreSQL DB server IP address
- port is a custom PostgreSQL DB port
Once all fields are correctly filled in:

- Click the Test Connection button to check the database connection
- Verify the Connection Status has changed to Success, which indicates the connection is successful
- Click the Save and Reload button to save the settings and restart the system
At this point, the database configuration and connection are successfully completed.
After the system restarts, open the web interface again and log in using the default credentials:
- Login: admin
- Password: admin