Export Tab
This page describes the Export tab overview and functionality description. The Export tab comprises a list of video records for export with the ability to manage them.
Overview
To access the video export, on the Navigation Panel:

- Click the "+" button
- Select Export in the context menu to open the Export tab
Use and Functionality
The Export tab interface comprises:

- Export List block to select video records and prepare a video file for export
- Video Playback window to view the video record from the desired camera and set the required recording segment for export
Export List Configuration
To configure the export list, proceed with the following steps:
- Click the Add Item button to select the desired cameras. In the Select Cameras pop-up window:
- Fill in the Search field with:
- Camera name or characters in the name
- Video stream ID
- Check the boxes next to multiple required cameras
- Click the Confirm button to apply the selection
- Fill in the Search field with:
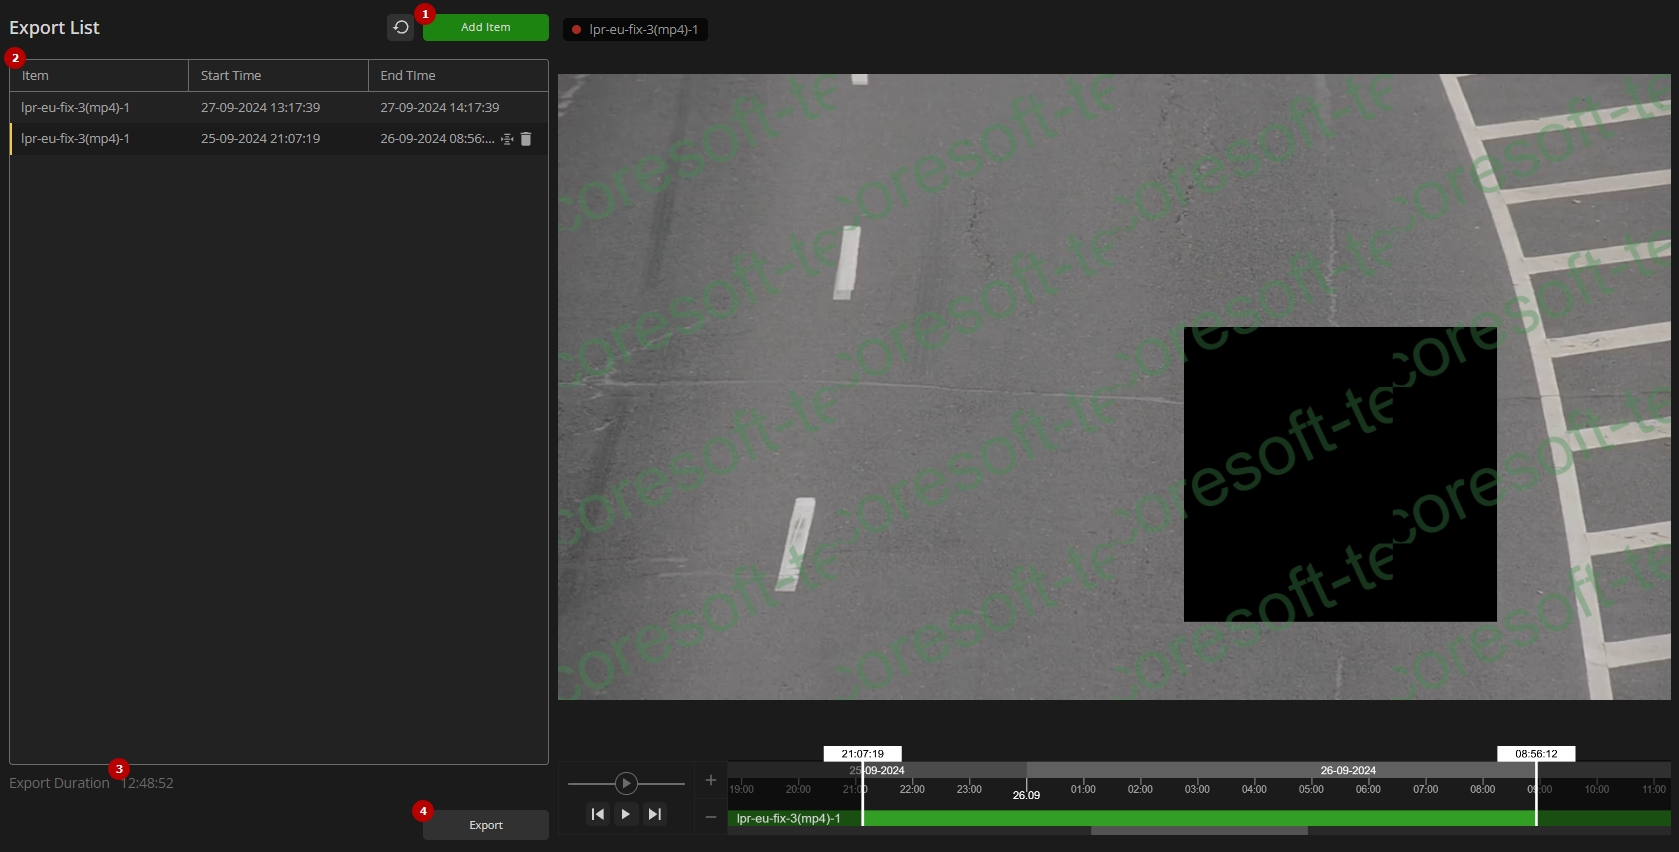
- View the list of added videos in the table below. It comprises:
- Camera name
- Selected start time of the video record
- Selected end time of video record
- Options to:
- Divide the selected video record into two equal parts
- Delete the selected video record
- View the total duration that will be exported
- Click the Export button to download the video files
- The Reset icon next to the Add Item button is intended to reset the camera selection and clear the export list.
- The Divide and Delete options in the table are available upon hovering the mouse over the required video record.
- The start and end time frames can also be edited manually in the table upon clicking the required start or end date for the required item.
- If the total selected recording time from the cameras exceeds one hour, the export will be split into hourly segments. Each file will correspond to one hour or less, depending on the total duration. Each hourly segment may contain less than one hour of footage if the recording was triggered by motion.
- The Export List includes both video recordings added through the Export tab and segments selected on the Playback Panel for export.
Video Record Management
To manage the required video record, select the required item from the table. The selected video record opens in the Video Playback window, which allows to:
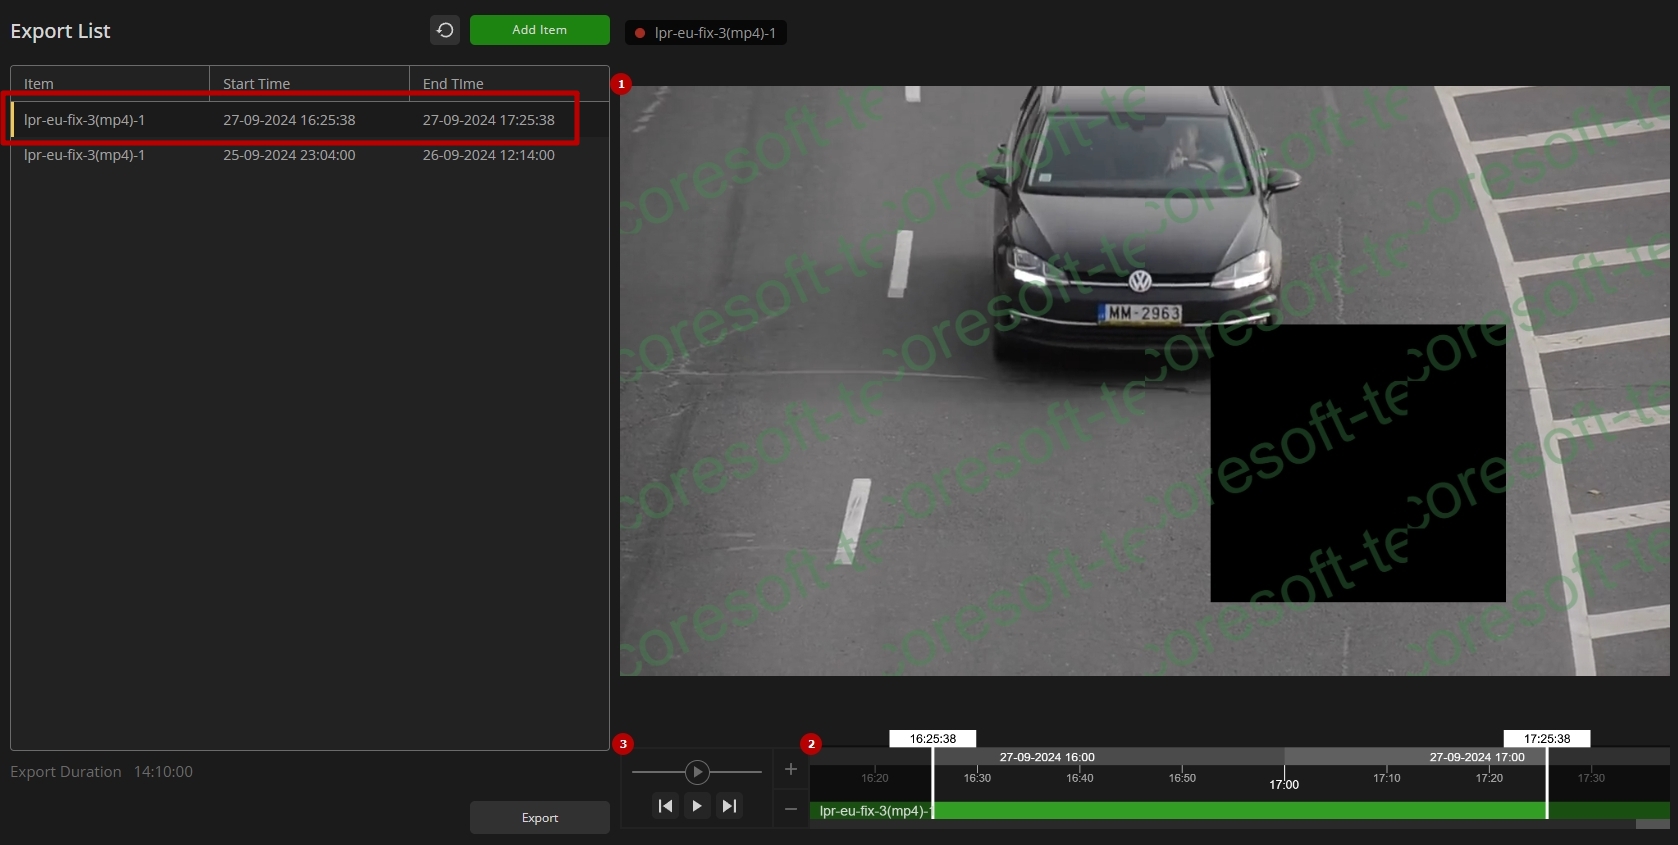
- View the video record
- Manage the timeline:
- View the exact date and time of the video record
- Hover the mouse over the timeline to:
- Zoom in and out of the timeline by scrolling the mouse wheel (or by clicking the "+" and "-" icons at the left side of the timeline)
- Scroll the zoomed-in timeline by Ctrl + scrolling the mouse wheel (or by moving the slider to the left/right at the bottom of the timeline)
- Set the desired video record time frame for export by holding and dragging the highlighted video segment on the timeline
- Use playback controls:
- Hold and drag the Speed Slider:
- To the left to play the video in reverse at the desired speed
- To the right to play the video forward at the desired speed
- Play/Pause to start or stop the video playback
- Rewind/Fast Forward buttons to move to the previous or next video frame
- Hold and drag the Speed Slider:
The selected time frame segment is always highlighted on the timeline with a bright green color.