Layouts
This page comprises the Layouts section overview and functionality description.
Overview
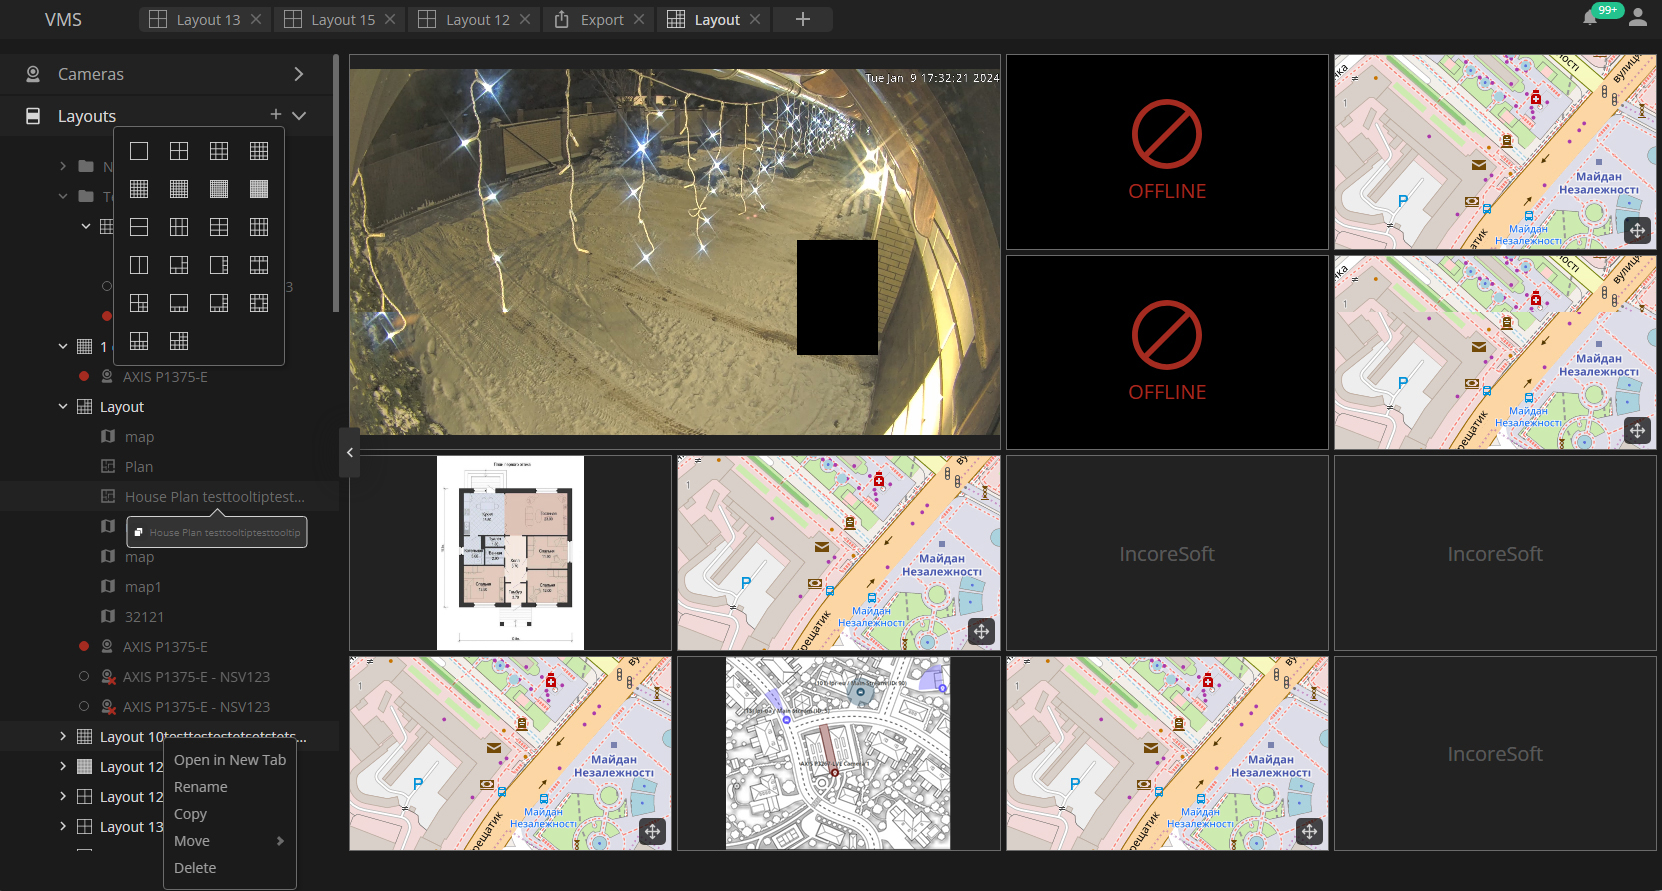
To access layouts, open the Layouts section in the Resource Tree:
Use and Functionality
The Layouts section's functional menu allows to:
- View the list of available layout groups, layouts, and items added within each saved layout:
- Open a new layout:
- Hover the mouse cursor over the Layouts section
- Move the cursor over the "+" icon
- Hover the mouse cursor over layout schemes in the drop-down menu to see the number of cells for each layout type
- Select the desired layout type
- Double-click the desired layout in the list to open it in the View Grid
- Right-click the Layouts section, and in the drop-down menu:
- Create a new layout group
- Open a new layout
- Right-click the required layout group, and in the drop-down menu:
- Open a new layout within the selected group
- Create a new layout group within the selected one
- Rename the selected group
- Copy the selected group with its content to the clipboard
- Paste the group within the selected one (enabled only if the group has already been copied to the clipboard)
- Delete the selected group
- Right-click the required layout, and in the drop-down menu:
- Open the selected layout in a new tab
- Rename the selected layout
- Copy the selected layout in the same folder
- Move the selected layout to another group
- Delete the selected layout
- Right-click the desired layout's item and select the Delete option in the context menu to delete it from the layout
- A new layout always opens in a separate tab on the Navigation Panel. All unsaved layouts are marked with an asterisk (*) next to the layout's name in the tab.
- Shared admin layouts and layout groups are indicated by the red Lock icon. These layouts and groups cannot be edited by regular users. Users can only copy them and edit their own copies if their role comprises the Create Layout permission.
- Refer to the View Grid: Camera documentation to learn more about camera management options.

